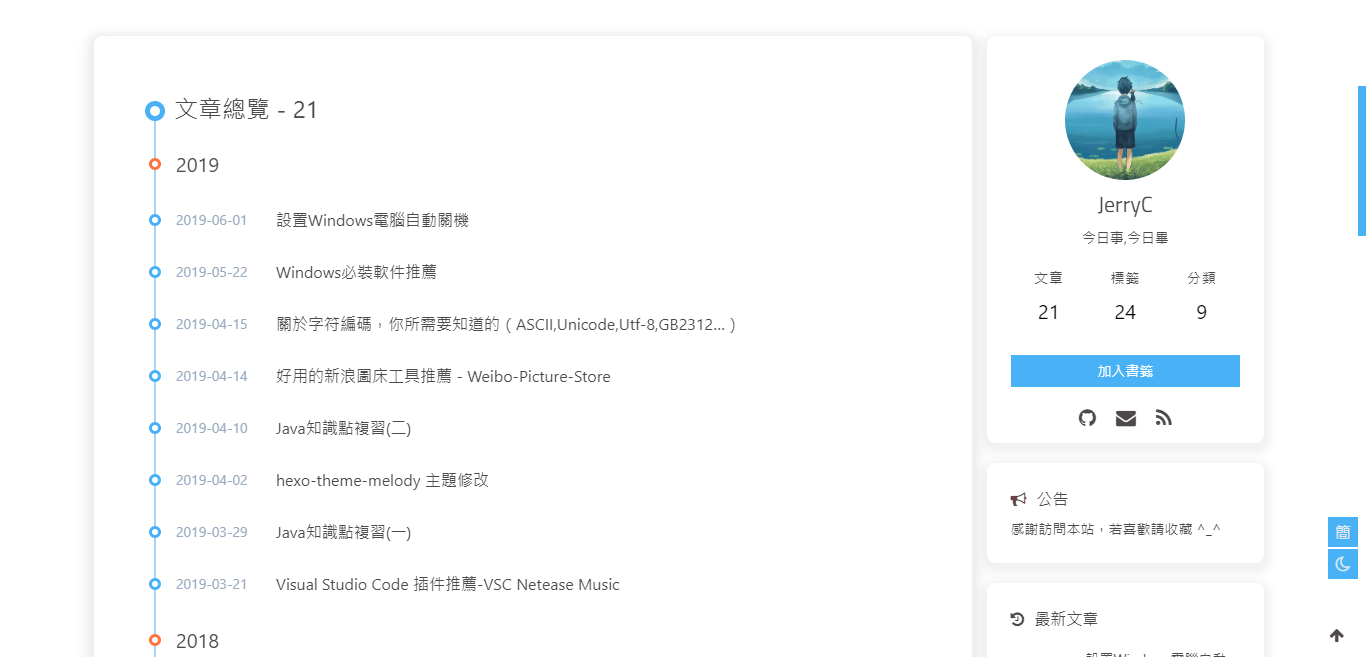
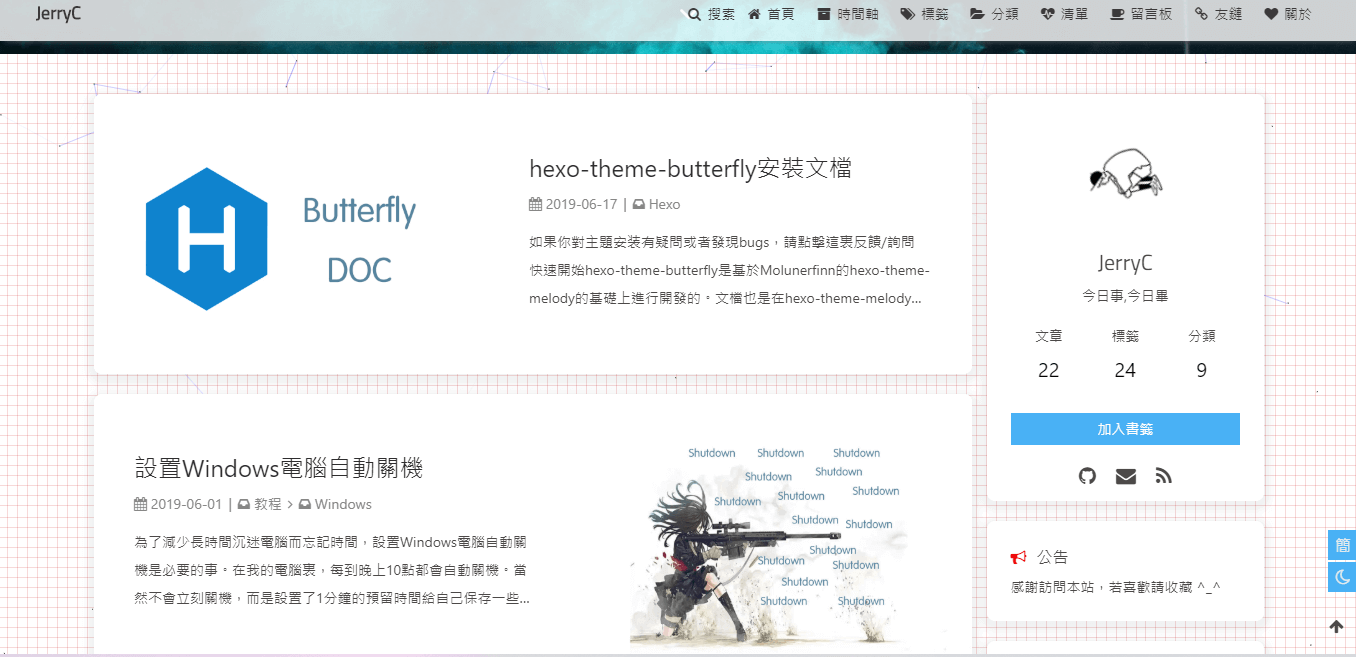
美化/特效 自定义主题色 可以修改大部分UI颜色
修改 主题配置文件,比如:
颜色值必须被双引号包裹,就像"#000"而不是#000。否则将会在构建的时候报错!
1
2
3
4
5
6
7
8
9
10
11
12
13
14
15
YAML theme_color: enable: true main: "#49B1F5" paginator: "#00c4b6" button_hover: "#FF7242" text_selection: "#00c4b6" link_color: "#99a9bf" meta_color: "#858585" hr_color: "#A4D8FA" code_foreground: "#F47466" code_background: "rgba(27, 31, 35, .05)" toc_color: "#00c4b6" blockquote_padding_color: "#49b1f5" blockquote_background_color: "#49b1f5"
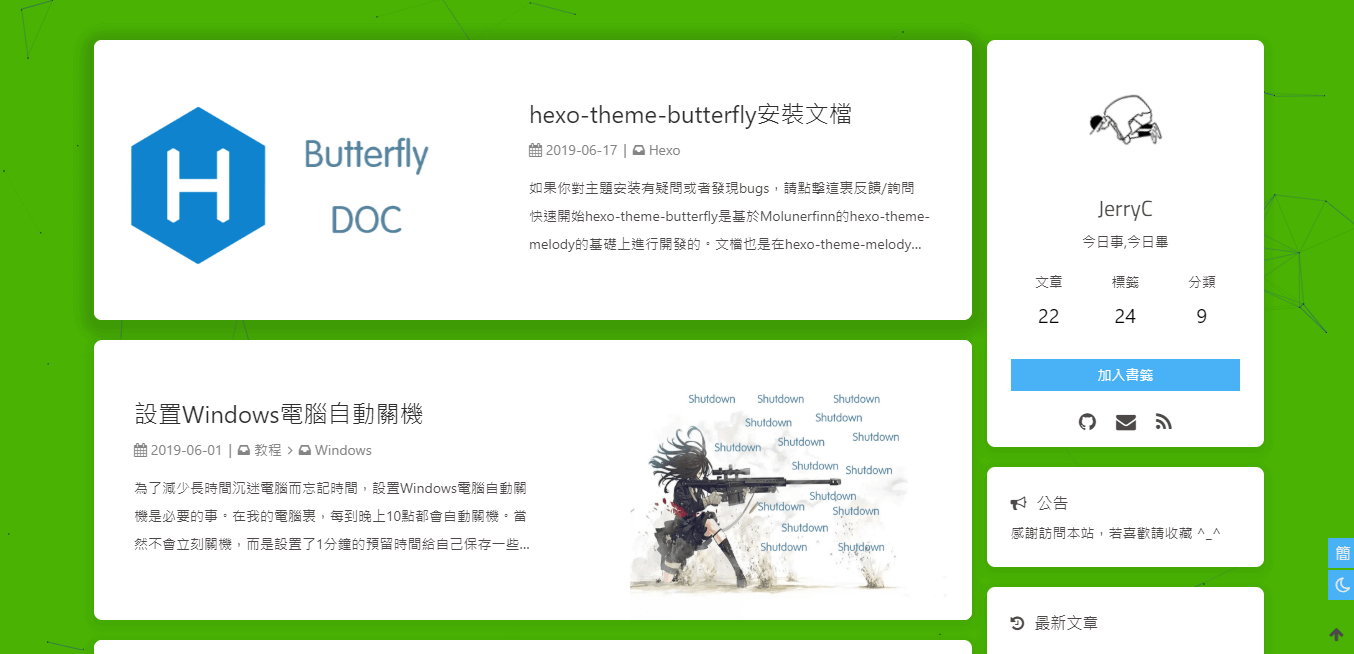
网站背景 默认显示白色,可设置图片或者颜色
修改 主题配置文件
1
2
3
4
5
YAML # 图片格式 url(http://xxxxxx.com/xxx.jpg) # 颜色(HEX值/RGB值/顔色单词/渐变色) # 留空 不显示背景 background:
留意: 如果你的网站根目录不是’/‘,使用本地图片时,需加上你的根目录。https://yoursite.com/blog,引用一张img/xx.png图片,则设置background为 `url(/blog/img/xx.png)
background:’#49B202’
background: url(https://i.loli.net/2019/09/09/5oDRkWVKctx2b6A.png )
修改 主题配置文件
1
2
3
YAML # footer是否显示图片背景(与top_img一致) footer_bg: true
配置的值 效果 留空/false 显示默认的顔色 img链接 图片的链接,显示所配置的图片 顔色( HEX值 - #0000FF RGB值 - rgb(0,0,255) 顔色单词 - orange 渐变色 - linear-gradient( 135deg, #E2B0FF 10%, #9F44D3 100%) ) 对应的顔色 true 显示跟 top_img 一样
true
打字效果 打字效果activate-power-mode
修改 主题配置文件
1
2
3
4
5
6
7
8
YAML # Typewriter Effect (打字效果) # https://github.com/disjukr/activate-power-mode activate_power_mode: enable: true colorful: true # open particle animation (冒光特效) shake: true # open shake (抖动特效) mobile: false
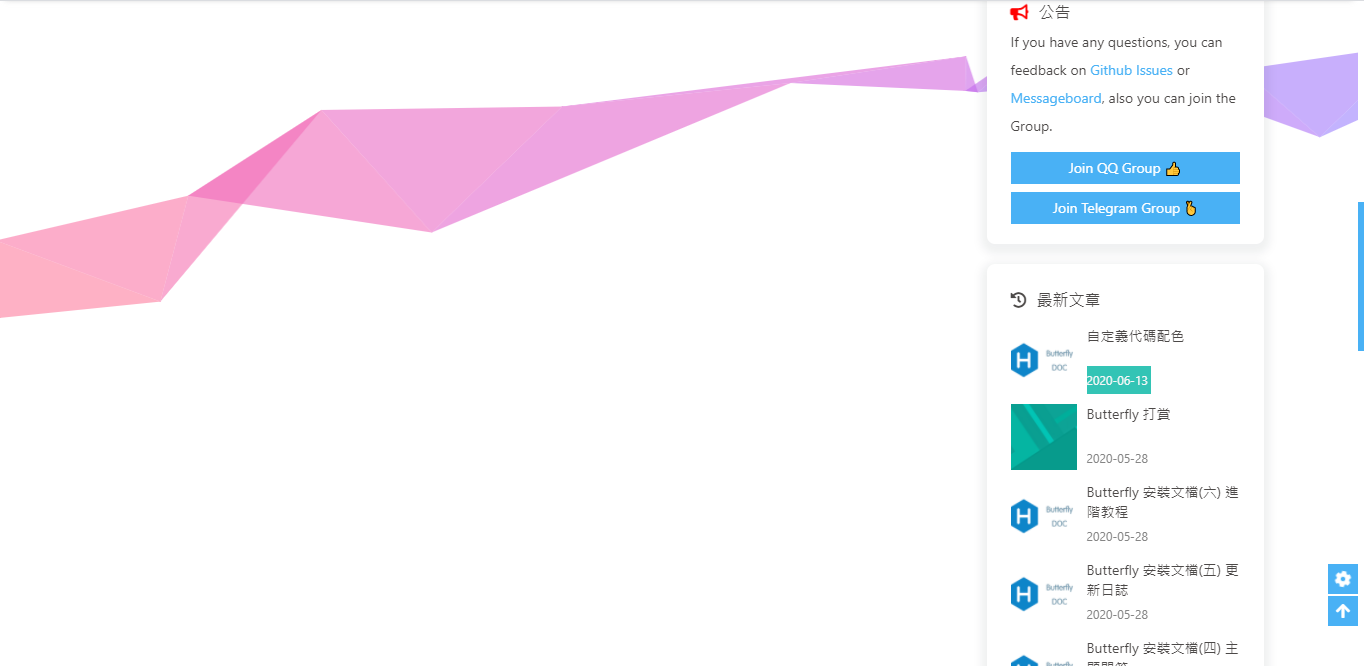
背景特效 好看的綵带背景,可设置每次刷新更换綵带,或者每次点击更换綵带主题配置文件
1
2
3
4
5
6
7
8
YAML canvas_ribbon: enable: false size: 150 alpha: 0.6 zIndex: -1 click_to_change: false #设置是否每次点击都更换綵带 mobile: false # false 手机端不显示 true 手机端显示
相关配置可查看canvas_ribbon
鼠标点击效果 zIndex建议只在-1和9999上选-1 代表烟火效果在底部9999 代表烟火效果在前面
修改 主题配置文件
1
2
3
4
5
YAML fireworks: enable: true zIndex: 9999 # -1 or 9999 mobile: false
页面美化 会改变ol、ul、h1-h5的样式
field配置生效的区域
修改 主题配置文件
1
2
3
4
5
6
7
YAML # 美化页面显示 beautify: enable: true field: site # site/post title-prefix-icon: '\f0c1' title-prefix-icon-color: "#F47466"
title-prefix-icon填写的是fontawesome的icon的Unicode数。
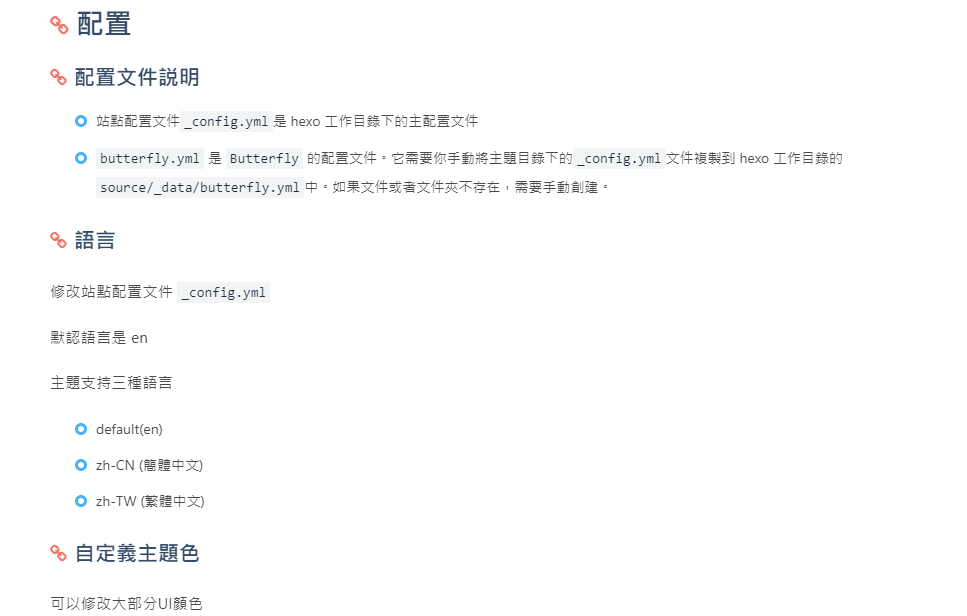
未开启美化
开启美化
自定义字体和字体大小 全局字体 可自行设置字体的font-family如不需要配置,请留空
修改 主题配置文件
1
2
3
4
5
6
7
8
YAML # Global font settings # Don't modify the following settings unless you know how they work (非必要不要修改) font: global-font-size: code-font-size: font-family: -apple-system, BlinkMacSystemFont, "Segoe UI", "Helvetica Neue", Lato, Roboto, "PingFang SC", "Microsoft JhengHei", "Microsoft YaHei", sans-serif code-font-family: consolas, Menlo, "PingFang SC", "Microsoft JhengHei", "Microsoft YaHei", sans-serif
Blog 标题字体 可自行设置字体的font-family如不需要配置,请留空。 如不需要使用网络字体,只需要把font_link留空就行
修改 主题配置文件
1
2
3
4
5
6
YAML # Font settings for the site title and site subtitle # 左上角网站名字 主页居中网站名字 blog_title_font: font_link: https://fonts.googleapis.com/css?family=Titillium+Web&display=swap font-family: Titillium Web, 'PingFang SC', 'Hiragino Sans GB', 'Microsoft JhengHei', 'Microsoft YaHei', sans-serif
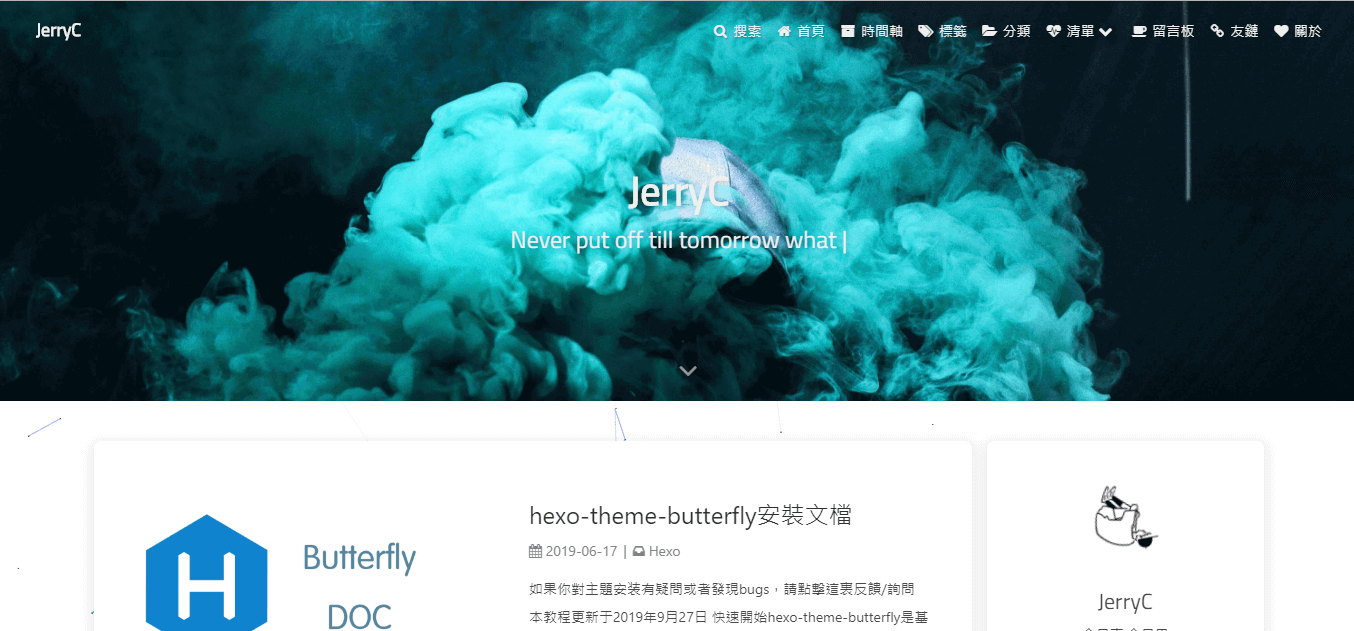
网站副标题 可设置主页中显示的网站副标题或者喜欢的座右铭。
修改 主题配置文件
1
2
3
4
5
6
7
8
9
10
11
12
13
14
15
16
17
18
19
20
21
22
23
24
25
YAML # 主页subtitle subtitle: enable: true # 打字效果 effect: true # 循环或者只打字一次 loop: false # source调用第三方服务 # source: false 关闭调用 # source: 1 调用搏天api的随机语录(简体) # source: 2 调用一言网的一句话(简体) # source: 3 调用一句网(简体) # source: 4 调用今日诗词(简体 # subtitle 会先显示 source , 再显示 sub 的内容 source: false # 如果有英文逗号' , ',请使用转义字元 , # 如果有英文双引号' " ',请使用转义字元 " # 开头不允许转义字元,如需要,请把整个句子用双引号包住 # 例如 ”"Never put off till tomorrow what you can do today"" # 如果关闭打字效果,subtitle只会显示sub的第一行文字 sub: - 今日事,今日毕 - Never put off till tomorrow what you can do today
主页top_img显示大小 适用于 版本号 >= V1.2.0
默认的显示为全屏。site-info的区域会居中显示
1
2
3
4
5
6
YAML # 主页设置 # 默认top_img全屏,site_info在中间 # 使用默认, 都无需填写(建议默认) index_site_info_top: # 主页标题距离顶部距离 例如 300px/300em/300rem/10% index_top_img_height: #主页top_img高度 例如 300px/300em/300rem 不能使用百分比
注意:index_top_img_height的值不能使用百分比。
举例,当
1
2
YAML index_top_img_height: 400px
效果
页面加载动画preloader 当进入网页时,因为加载速度的问题,可能会导致top_img图片出现断层显示,或者网页加载不全而出现等待时间,开启preloader后,会显示加载动画,等页面加载完,加载动画会消失。
配置butterly.yml
1
2
3
YAML # 加载动画 Loading Animation preloader: true
PWA 要为Butterfly配上 PWA 特性, 你需要如下几个步骤:
打开 hexo 工作目录 npm install hexo-offline --save 或者 yarn add hexo-offline在根目录创建 hexo-offline.config.cjs 文件,并增加以下内容。 1 2 3 4 5 6 7 8 9 10 11 12 13 14 15 16 17 18 JS // offline config passed to workbox-build. module.exports = { globPatterns: ['**/*.{js,html,css,png,jpg,gif,svg,webp,eot,ttf,woff,woff2}'], // 静态文件合集,如果你的站点使用了例如 webp 格式的文件,请将文件类型添加进去。 globDirectory: 'public', swDest: 'public/service-worker.js', maximumFileSizeToCacheInBytes: 10485760, // 缓存的最大文件大小,以字节为单位。 skipWaiting: true, clientsClaim: true, runtimeCaching: [ // 如果你需要加载 CDN 资源,请配置该选项,如果没有,可以不配置。 // CDNs - should be CacheFirst, since they should be used specific versions so should not change { urlPattern: /^https:\/\/cdn\.example\.com\/.*/, // 可替换成你的 URL handler: 'CacheFirst' } ] }
更多内容请查看 hexo-offline 的官方文档
在主题配置文件中开启 pwa 选项。 1 2 3 4 5 6 7 8 YAML pwa: enable: true manifest: /img/pwa/manifest.json apple_touch_icon: /img/pwa/apple-touch-icon.png favicon_32_32: /img/pwa/32.png favicon_16_16: /img/pwa/16.png mask_icon: /img/pwa/safari-pinned-tab.svg
在创建source/目录中创建manifest.json文件。 1 2 3 4 5 6 7 8 9 10 11 12 13 14 15 16 17 18 19 20 21 22 23 24 25 26 27 28 29 30 31 32 33 34 35 36 37 38 39 40 41 42 43 44 45 46 47 48 49 JSON { "name": "string", "short_name": "Junzhou", "theme_color": "#49b1f5", "background_color": "#49b1f5", "display": "standalone", "scope": "/", "start_url": "/", "icons": [ { "src": "images/pwaicons/36.png", "sizes": "36x36", "type": "image/png" }, { "src": "images/pwaicons/48.png", "sizes": "48x48", "type": "image/png" }, { "src": "images/pwaicons/72.png", "sizes": "72x72", "type": "image/png" }, { "src": "images/pwaicons/96.png", "sizes": "96x96", "type": "image/png" }, { "src": "images/pwaicons/144.png", "sizes": "144x144", "type": "image/png" }, { "src": "images/pwaicons/192.png", "sizes": "192x192", "type": "image/png" }, { "src": "images/pwaicons/512.png", "sizes": "512x512", "type": "image/png" } ], "splash_pages": null }
你也可以通过 Web App Manifest 快速创建manifest.json。(Web App Manifest 要求至少包含一个 512*512 像素的图标)
可以通过
插件
检查 PWA 配置是否生效以及配置是否正确。
打开博客页面 启动Lighthouse插件 (Lighthouse插件要求至少包含一个 512*512 像素的图标) 关于 PWA(渐进式增强 Web 应用)的更多内容请参閲 Google Tools for Web Developers
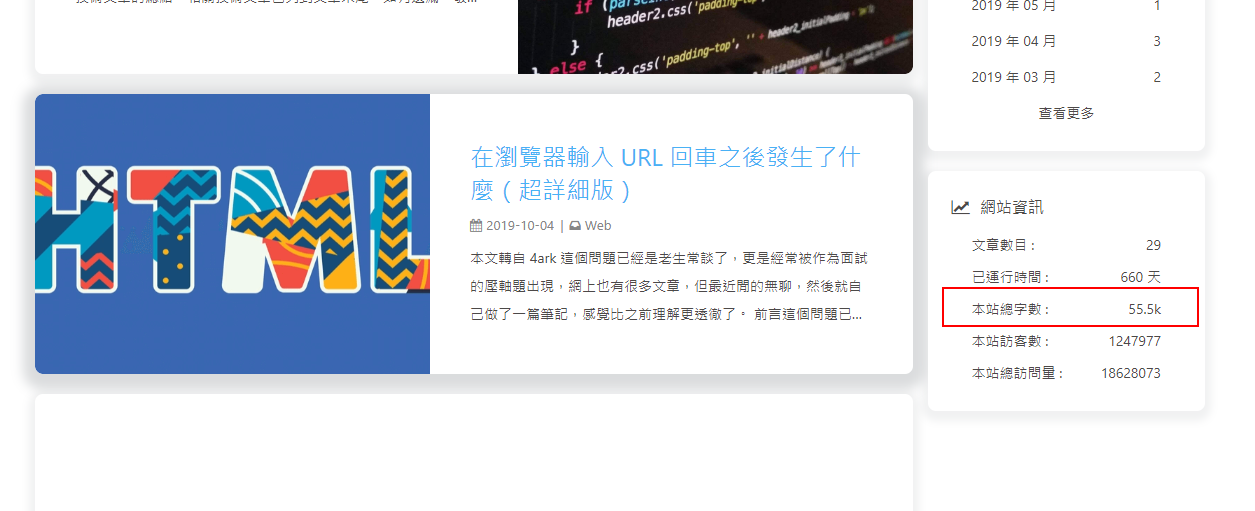
字数统计 要为Butterfly配上字数统计特性, 你需要如下几个步骤:
打开 hexo 工作目录 npm install hexo-wordcount --save or yarn add hexo-wordcount修改 主题配置文件: 1 2 3 4 5 6 YAML wordcount: enable: true post_wordcount: true min2read: true total_wordcount: true
图片大图查看模式 只能开启一个
修改 主题配置文件
1 2 3 YAML # fancybox http://fancyapps.com/fancybox/3/ fancybox: true
Snackbar 弹窗 Snackbar 弹窗,根据自己爱好开启
修改 主题配置文件
1 2 3 4 5 6 7 8 9 10 YAML # Snackbar 弹窗 # https://github.com/polonel/SnackBar # position 弹窗位置 # 可选 top-left / top-center / top-right / bottom-left / bottom-center / bottom-right snackbar: enable: true position: bottom-left bg_light: '#49b1f5' #light mode时弹窗背景 bg_dark: '#2d3035' #dark mode时弹窗背景
未开启Snackbar
开启Snackbar
其它配置 CSS 前缀 有些 CSS 并不是所有浏览器都支持,需要增加对应的前缀才会生效。
开启 css_prefix 后,会自动为一些 CSS 增加前缀。(会增加 20%的体积)
修改配置文件
1 2 3 YAML # Add the vendor prefixes to ensure compatibility css_prefix: true
Open Graph 在 head 里增加一些 meta 资料,例如缩略图、标题、时间等等。当你分享网页到一些平台时,平台会读取 Open Graph 的内容,展示缩略图,标题等等信息。
修改配置文件
1 2 3 4 YAML # Open graph meta tags # https://developers.facebook.com/docs/sharing/webmasters/ Open_Graph_meta: true
Instantpage 当鼠标悬停到链接上超过 65 毫秒时,Instantpage 会对该链接进行预加载,可以提升访问速度。
修改配置文件
1 2 3 4 YAML # https://instant.page/ # prefetch (预加载) instantpage: true
Pangu 如果你跟我一样,每次看到网页上的中文字和英文、数字、符号挤在一块,就会坐立难安,忍不住想在它们之间加个空格。这个外挂正是你在网路世界走跳所需要的东西,它会自动替你在网页中所有的中文字和半形的英文、数字、符号之间插入空白。
修改配置文件
1
2
3
4
5
6
YAML # https://github.com/vinta/pangu.js # Insert a space between Chinese character and English character (中英文之间添加空格) pangu: enable: false field: post # site/post
field只支持两个参数,post(只在文章页生效)和site(全站生效)
Pjax 当用户点击链接,通过ajax更新页面需要变化的部分,然后使用HTML5的pushState修改浏览器的URL地址。
这样可以不用重复加载相同的资源(css/js), 从而提升网页的加载速度。
1 2 3 4 5 6 7 8 9 YAML # Pjax [Beta] # It may contain bugs and unstable, give feedback when you find the bugs. # https://github.com/MoOx/pjax pjax: enable: true exclude: - /music/ - /no-pjax/
对于一些第三方插件,有些并不支持 pjax 。网页 加入到 exclude 里,这个网页会被 pjax 排除在外。
使用pjax后,一些自己DIY的js可能会无效,跳转页面时需要重新调用,请参考Pjax文档
Butterfly的Pjax目前仍有一些问题,请留意
如果你在使用中发现问题,欢迎反馈Bugs
Inject 2.3.0以上支持
如想添加额外的js/css/meta等等东西,可以在Inject里添加,支持添加到head(</body>标籤之前)和bottom(</html>标籤之前)。
请注意:以标準的html格式添加内容
例如
1 2 3 4 5 6 YAML inject: head: - <link rel="stylesheet" href="/self.css"> bottom: - <script src="xxxx"></script>
留意: 如果你的网站根目录不是’/‘,使用本地图片时,需加上你的根目录。https://yoursite.com/blog,引用css/xx.css,则设置为<link rel="stylesheet" href="/blog/css/xx.css">
CDN 配置文件中最后一部分CDN,里面是主题所引用到的文件,可自行配置CDN。(非必要请勿修改,配置后请确认链接是否能访问)
以下是一些CDN提供商:
